Wednesday, 25 May 2016

Blending In

Well hi all,
I'm back for the third time this month.
I am really trying to make this a weekly post, I hope you have your fingers crossed too.
Today I am posting about some really primitive ink blending cards I made, which was probably about a year ago now when I first laid my hands on the ink blending tools from Tim Holtz.


This first card was made by simply daubing a little ink through a simple stencil I made, then stamped the sentiment with the Kaisercraft stamp set Cherry Blossom. This stamp set is no longer available though, so sorry.


This next card I used the same sentiment, how ever I laid a mask over the it first and blended out the Mustard Seed ink, creating a glow of somewhat. I backed it with some black card stock to emphasize the sentiment and then angled that panel on to the card base.


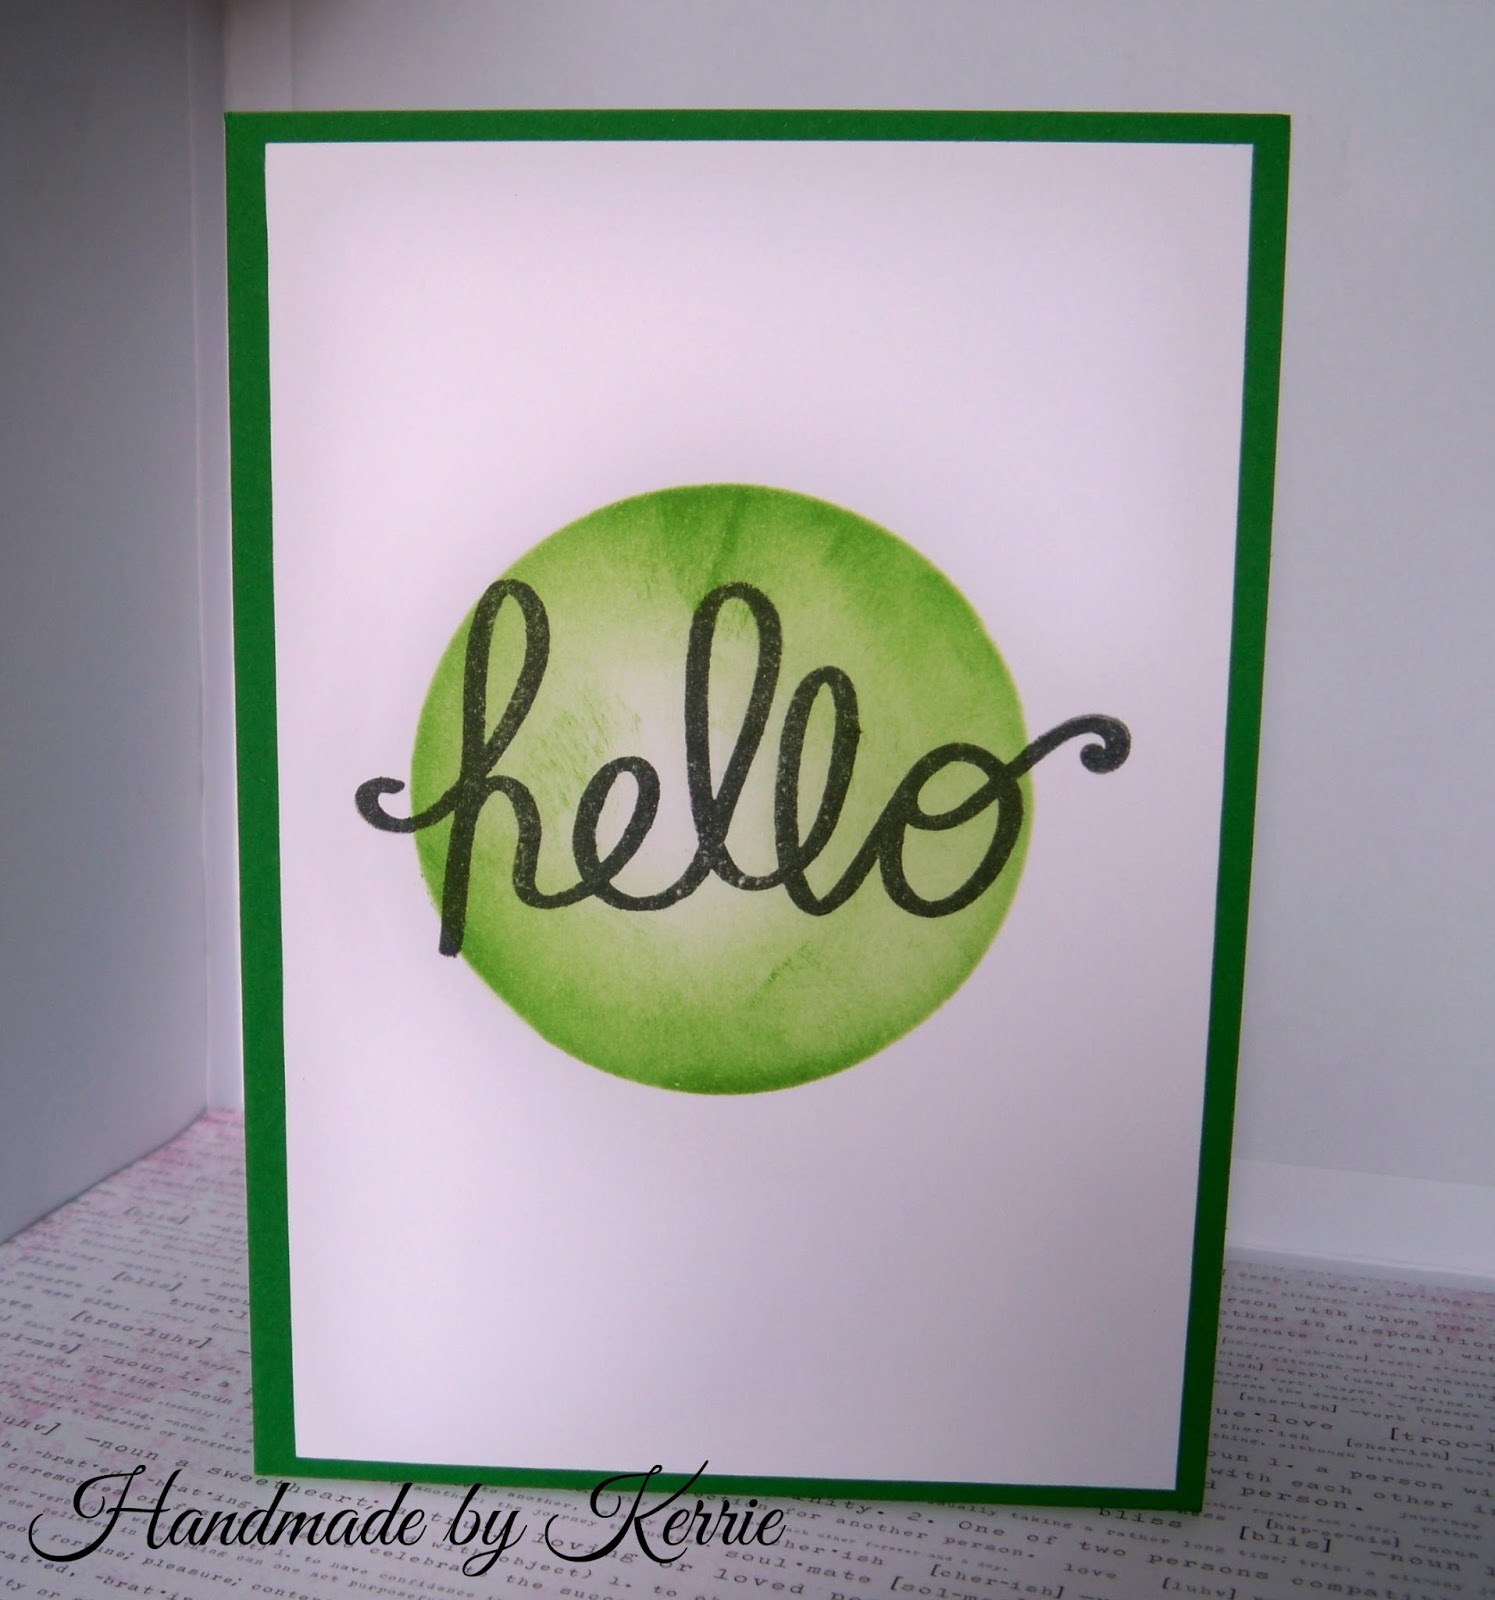
For this third card, I pretty much done the opposite of the card above, added a different sentiment from the same Stamp set and added the panel to a green card base.
Easy peasy lemon squeezy.


For this last card from this set, I made a stencil from some acetate of a line of clouds, then using Salty Ocean ink from Tim Holtz, I began blending the ink up from the stencil, then moved the stencil over a bit or turned it the other way to make different looking cloud patterns. Once I finished the clouds I blended the same ink from the top of the card stock down to add a bit of something from the top. Then I added the sentiment, at this point I needed something extra, welcome sunshine.
Then all this was adhered to a white card base and that was finished

Thanks everyone for joining me again,
talk again next week.
Byeeee
Love always
Kerrie
xxx


Tuesday, 17 May 2016

Digi, Digi, Digi

Hi all,
Today's Blog is all Stamping Bella.
Now once again I have used digital stamps found on Pinterest without realizing they are in fact not free, so immediately deleted them from my digital stamp collection. 
These three cards however were printed and colored well before having this knowledge be made known to me.


Our first beautiful Bella is FAITH the FAIRY which I colored with pencil, and added a light blue hue around her to make her pop.


For my second Bella is CLAUDIA has a CANDY with the sentiment that goes along with her, I think she is soooo cute, but I do love all the Bellas.


Lastly I have one of my all time favorites, Clarissa and Camille share a CAFE with their coordinating sentiment. I made them flower power Bellas with the color pallet I chose, they would be gorgeous in any color combo though.

Okay peoples, this is the last of the FREE?? Digital stamps I will blog, so I will be back soon with some real stamp colored cards very soon.
Hope you all have a great day,
Love always
Kerrie
xxx


Wednesday, 11 May 2016

Colored pencils and digi stamps

I love Pinterest

So maybe a good two years ago, I was perusing through Pinterest when the magical world of free digital stamps came to my attention, (yes I know I am so slow to catch up) please don't hate on me.
Back then we had this great printer and I went to town pinning and printing until the printer finally gave up working. I thought I had better start coloring some images.


Now I have to admit, and I am so sorry to the original designers, I did not write down the details of where the images originally came from so there for only ever printed the images off once and then deleted them from my Pinterest boards.
This image has been colored using some cheap coloring pencils but a mid range knowledge of blending and shading techniques. It was then cut down to fit on a standard A5 card base. No sentiment was ever added.


This baby animal party is not my usual interest, but they are to stinkin' cute to pass up, backed on to a red card base, it could be used for either a boy or girl birthday card.


This card made me laugh when I finished coloring it, why you may ask, because on the inside I wanted to put 'wishing you well'.
OK folks, that's my cards for the day.
See you all next time
Love Kerrie
xxx


Tuesday, 10 May 2016

Christmas 2016


When will I get it on time?

So I know, I know it's way past Christmas, dang it's way past everything being almost mid year, but here they are.


 Here's the first of the Christmas cards, this one and the next two are sized A5, however the others are     14 cm x 14 cm  (5.5" x 5.5"). This cards sentiment is from Clearly Besotted however the rest of the card is just made with patterned paper with a bit of distress ink on the edges.


This next card is made from some pattern paper by Kaiserkraft and covered with Wink of Stella, then neatly tucked behind some acetate for a somewhat shiny finish. Using a Uni-ball White Signo Pen, I made some dash lines around the circles turning them in to baubles, then heat embossed the sentiment with Super fine white embossing powder from Ranger.


This card was made with a bird cut out, a leaf cut out, (all drawn then cut by hand) and a small clear gem for the birds eye. Then I hand drew the sentiment, drew in a little border, and that was it.


These two cards were made for the parents on each side of the family, I had been given some metallic gold and silver card stock some time ago, and have been hoarding it, so it came in handy when needing just a little different in the layout. Cut out a circle with my largest circle die from MFT, the music paper behind was added to the shaker card front, which I added some white sea beads and a bit of shimmer powder for a frosty effect, not that where I live in Australia we ever see snow outside, but hey, who doesn't like a bit of (well contained) glitter. The rest is a sentiment I stamped from a stamp I have in my stash and then backed with some more metallic card stock.


A Christmas wreath by using a pile of cut out circles in festive colors, oh so easy, then topped with a cute little ribbon and the sentiment was heat embossed with gold embossing powder on some velum.


Last of all, is this cute little Santa, all hand drawn then cut out, placed on some patterned paper, then given some little googly eyes for a pop of fun.

Well that only took maybe 45 mins to write this Blog, what the heck have I been waiting for.
See you all again soon.
Love Kerrie
xxx


Monday, 28 December 2015

Cherish the Love

Hi'ya all,

This card was intended to be given to my Husbands best friends Wedding Card. Well I can tell you, it never got there,
 aaannyy who.


Sorry all, for some reason this card was put in a bag and photographed. It's not really a shiny card.
 ha, ha.
Starting on a standard A2 Black card base, I trimmed a white front panel down by a 1/4 inch all round, and then cut a hole in the top half for part of the card.
The sentiments came from a stamp set by Cre8tiv, the one in the center of the circle is heat embossed with Ranger Super fine detail white powder and the Love stamps was inked up with Staz On Jet Black Ink. The ribbon is just some old stuff I have in my stash and the red Heart is a wooden embellishment I have had a ton of for years, but I coated it heavily with some clear Wink of Stella.
Well that's it, ain't Love grand.
Please, you do not all need to answer that.

Bye,
Love Kerrie
xx

A Bon Voyage x 2

Hi'ya all,

So today is a two for one special ha,ha.
Well actually my first card was a fail, but only to the point of giving it to the right recipient, I didn't send it, yeh I know duh right.
Fail ha,ha


It was a very basic card, the main panel came from this collection by Kaisercraft and then the three brads down the left hand side came from my stash. A quick heat embossed sentiment from here on some Vellum cut down in to a small strip and added to the main panel, then all that was left was to adhere it all to an A2 card base. Ta-dah.

Cards number two.

For my Mum

and for my Brother

So as you can see, there was quite a bit more time and effort put in to these. My Mum and Brother were flying out to see family over in Britain, (back in June), I know better late than never. So I made them a card each.
I had to make a suitcase stencil to start with, which measured about 6"x 6" then from there I found some coordinating patterned paper to cover the bags with, got out my trusty Uni-ball Signo white pen and made some fake stitching lines, then went to work on some miniature passports, boarding passes, labels and tags. I had a ton of fun making these.
The sentiment came from here and I just heat embossed it with some Gold powder.
I LOVE making cards.

See you,
Love Kerrie
xx


Keep it simple sentiments


Hi'ya again,

Today I thought I would do some emboss resist watercolor.
I started off with a plain white A2 card panel which I embossed using my Swiss Dots embossing folder from Craft Concepts, ( I have linked to a different one as I can't find the C.C link).
 Sorry.
 With the Rose stamp from the Icons stamp set by Cre8tiv, I stamped the image on some Canson watercolor paper with versamark clear ink and heat embossed it with some Ranger White detail powder.
I used Mustard seed and Spiced Marmalade for one card and on the other I used Picked Raspberry and Seedless Preserves.
Then with the sentiments I used Clearly Besotted, Sweet Little Sentiment for both and then matted the panel on some coordinating color card stock.

Thanks for stopping by.

Love Kerrie
xx